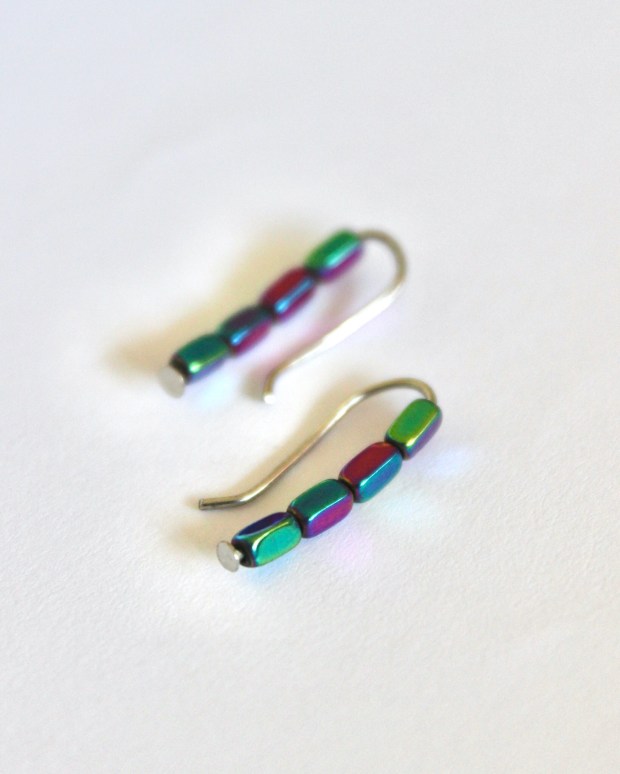
Al heb ik mijn eerste ear climber oorbellen alweer jaren geleden gemaakt, ik draag ze nog steeds regelmatig. De DIY is heel makkelijk, dus het leek me leuk om jullie te laten hoe je zelf een paar kunt maken!
Although I made my first pair of ear climber earrings years ago, I still wear them regularly. The DIY is really easy, so I thought it would be fun to show you how to make your own!
[English below…]
Wat heb je nodig?
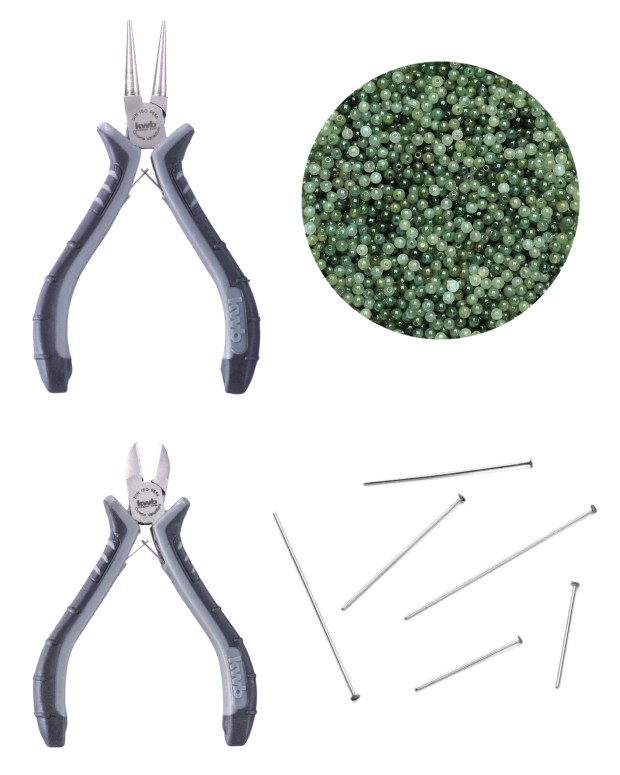
- Eindpinnen (metaaldraadjes met een plat stukje aan het einde, minimaal 5cm lang)
- Kraaltjes
- Rondbektang
- Kniptang
Wat moet je doen?
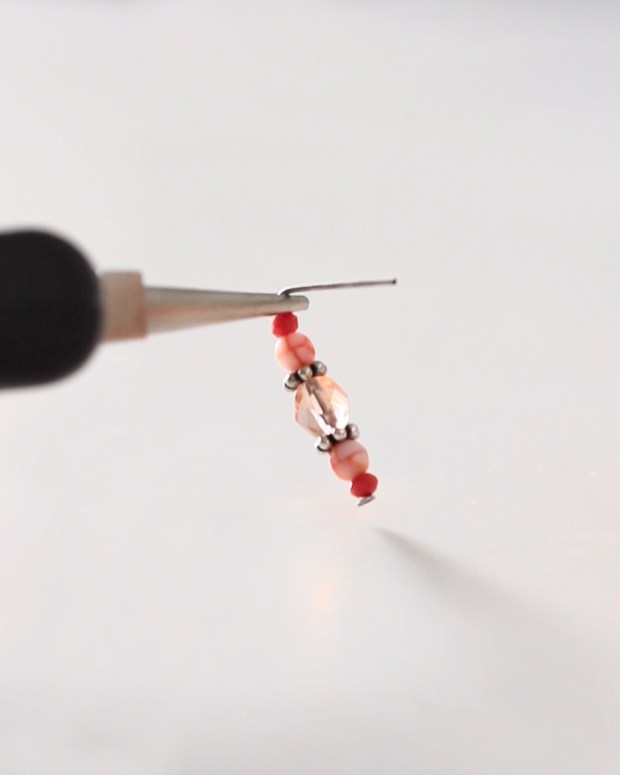
- Rijg bij twee eindpinnen een rijtje kraaltjes van ongeveer 2cm lang. Zorg ervoor dat je de oorbellen niet te zwaar maakt, anders zakken ze uit tijdens het dragen. De materialen die ik heb gebruikt zijn van Beadies.
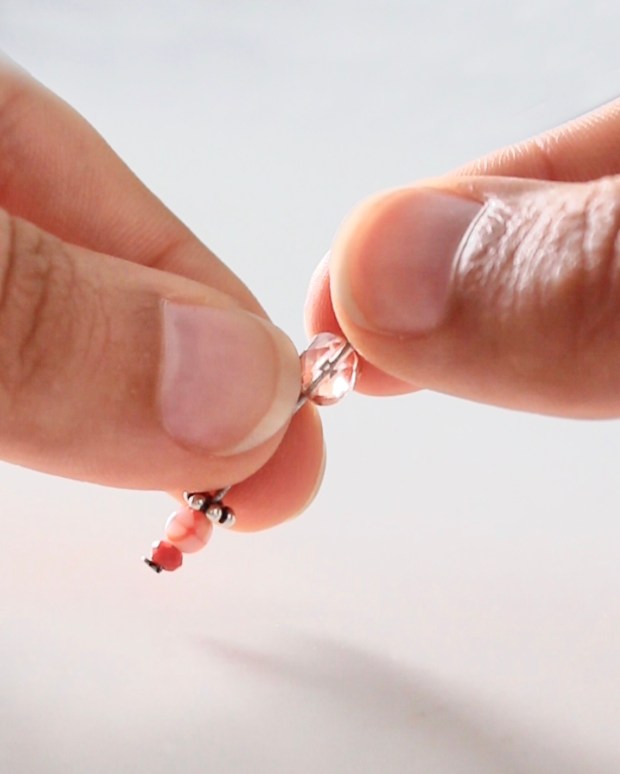
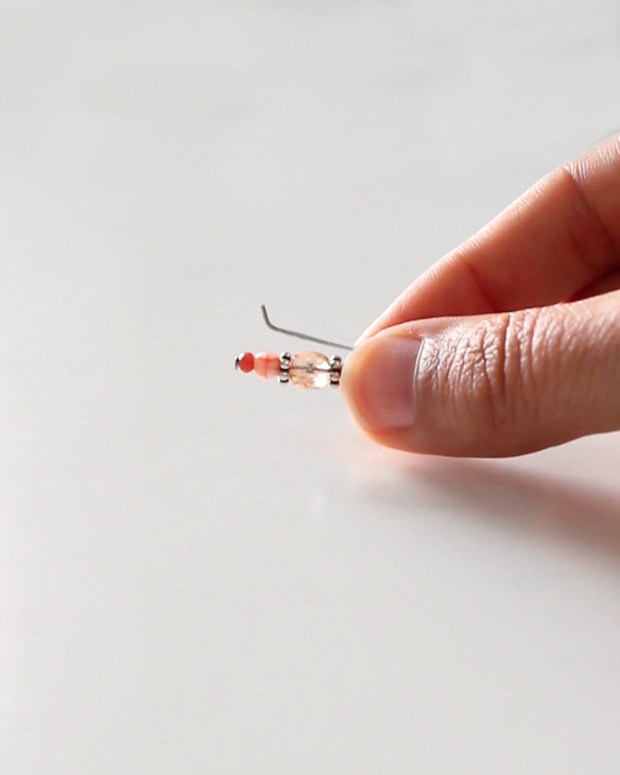
- Pak nu de rondbektang erbij en buig het lege stuk metaaldraad van de eindpinnen strak om het puntje. Let wel op dat je het niet té strak doet, want dan kunnen de kraaltjes kapot barsten.
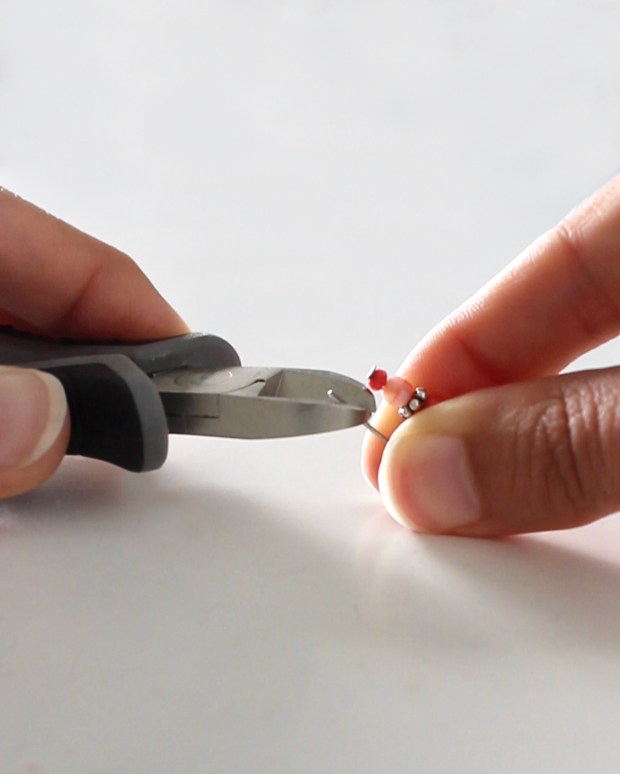
- Knip, als dat nog niet het geval is, de lege stukjes metaaldraad net iets korter dan de kanten met kraaltjes. Mochten de uiteindjes hier nou te scherp van worden, kun je ze altijd even glad vijlen of er een druppel doorzichtige nagellak op doen.
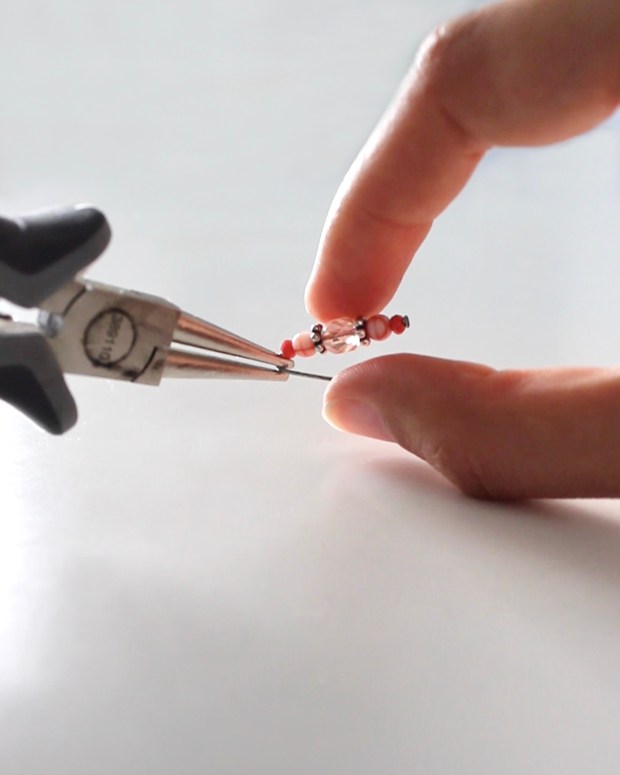
- Buig met de rondbektang de uiteindjes iets af van het geheel. Hierdoor blijven de oorbellen goed zitten, zonder dat het metaaldraad in de achterkant van je oor prikt.
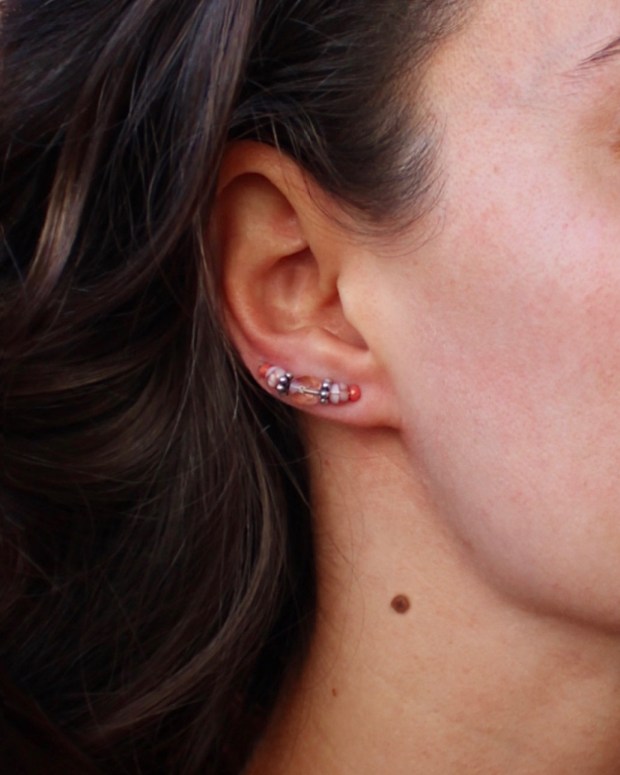
- Doe de oorbellen in en buig ze met de vorm van je oorschelp mee. Zo ‘klimmen’ ze als het ware langs je oor omhoog, vandaar ook de naam ‘ear climbers’… 😉 Druk ze goed aan en je bent klaar!
Het komt er steeds niet van, maar ooit zou ik een tweede gaatje willen laten schieten… Zo lijkt het in ieder geval tóch nog alsof ik al meerdere gaatjes hebt haha! Ik vind ze wel iets stoers hebben.

Ik hoop dat jullie het leuk vonden om te zien hoe je deze DIY kunt maken!
Wat vind jij van ear climbers? Zou je ze zelf ook dragen?
Reageer onder deze post of ga naar contact en stuur me een mailtje.
Deel jouw foto’s van de DIY met de hashtag #irenitalaverde en tag @irenitalaverde. Ik ben benieuwd naar het eindresultaat!!!
“Maak van elke dag een sprookje!” – Irene
What do you need?
- Head pins (metal wires with a flat piece at the end, at least 5cm long)
- Small beads
- Round nose pliers
- Side cutter pliers
What do you have to do?
- Thread an about 2cm long row of beads at two end pins. Make sure you don’t make the earrings too heavy or they’ll sag when worn. The materials I used are from Beadies.
- Now grab the round nose pliers and bend the empty piece of metal wire from the end pins tightly around the tip. Make sure you don’t do it too tight though, because that could burst the beads.
- If it is not the case already, cut the empty pieces of metal wire just a little shorter than the beaded sides. If the ends become too sharp, you can always file them smoothly or put a drop of transparent nail polish on them.
- Bend the ends with the round nose pliers slightly away from the beaded sides. This keeps the earrings in place, without the metal wire poking into the back of your ear.
- Put in the earrings and bend them to the shape of your ear. They way they sort of ‘climb’ up along your ear, hence the name ‘ear climbers’… 😉 Press them well and you’re done!
Somehow I never got to actually doing it, but one day I would like to have a second hole pierced into my ear… With these kind of earrings however, it seems like I already have several holes haha! I think they give a bit of an edgy look.
I hope you enjoyed reading how to make this DIY!
What do you think of ear climbers? Would you wear them yourself?
Comment below this post or go to contact and send me an email.
Share your photos from the DIY with the hashtag #irenitalaverde and tag @irenitalaverde. I am curious about the end result!!!
“Turn every day into a fairytale!” – Irene