Vandaag hebben mijn vriend en ik alweer twee jaar ‘verkering’, wat gaat de tijd toch snel! Onze ontmoeting was tijdens een van de wekelijkse swing-dance feestjes in de Winkel van Sinkel en een paar maandjes later gingen we daten. Om er even bij stil te staan wilde ik graag iets kleins maken voor in huis: Gepersonaliseerde boekensteunen! Zo worden we er vanaf nu dagelijks op subtiele wijze aan herinnerd…
Today my boyfriend and I have been dating for two years, oh how time flies! We met during one of the weekly swing-dance parties in the Winkel van Sinkel and a few months later we started our relationship. As a remembrance, I wanted to make something small for the house: Personalized bookends! That way we will be subtly reminded of it every day…
[English below…]
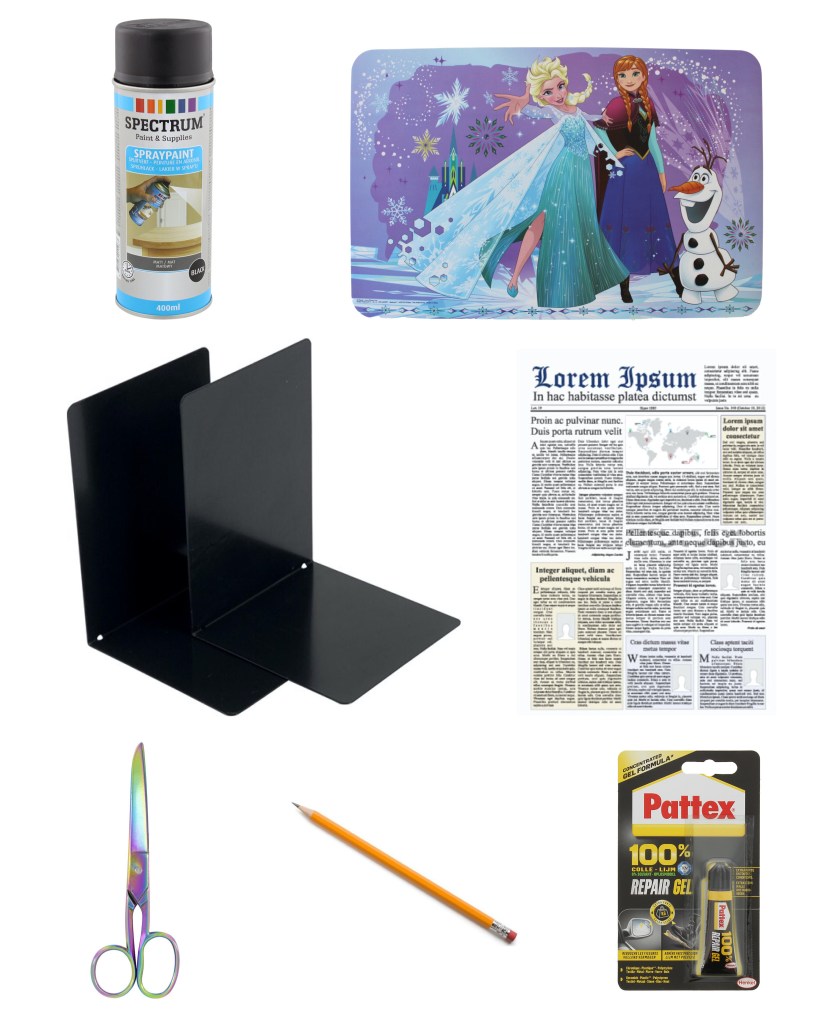
Wat heb je nodig?
- Zwarte, metalen boekensteunen
- Plastic (flexibel, maar niet slap) kinderplacemat
- Potlood
- Schaar
- Zwarte, matte verf spuitbus
- Oude kranten
- Lijm
Wat moet je doen?
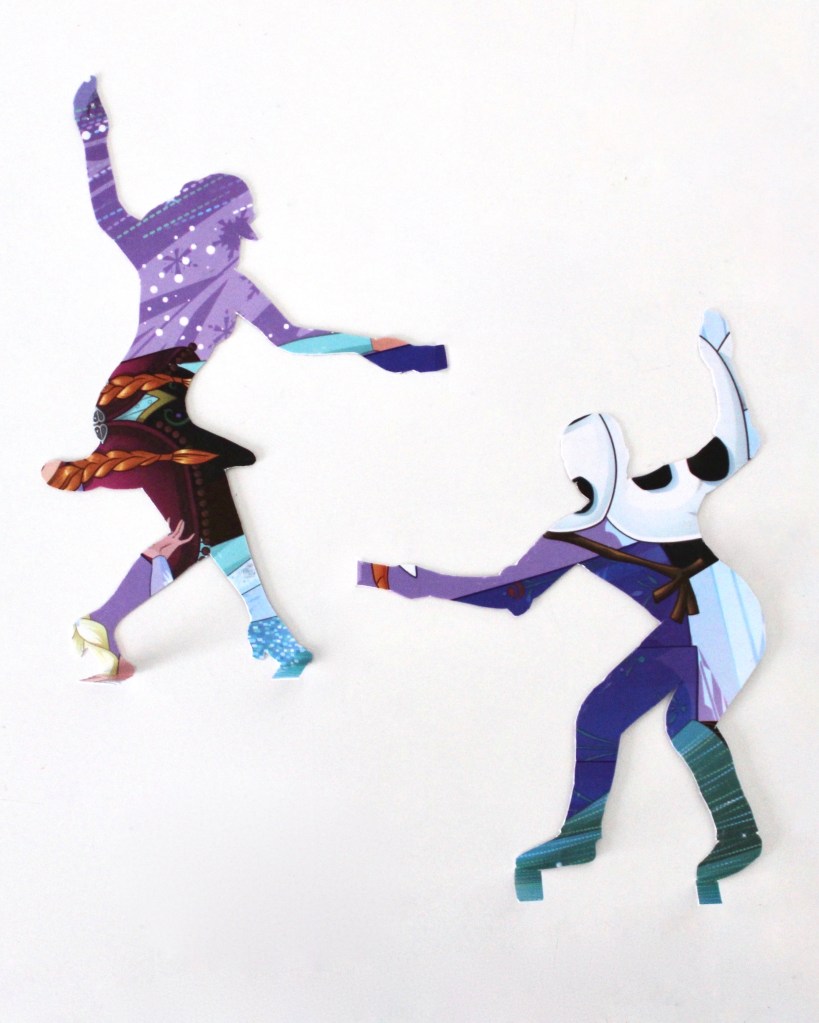
- Maak twee losse tekeningen op de placemat met een duidelijk silhouet van jezelf, je partner, een huisdier of bijvoorbeeld iets waar je fan van bent. Je kunt natuurlijk ook plaatjes van internet printen, uitknippen en omtrekken, als je niet zo van tekenen houdt. Zorg ervoor dat je om de tekening of omtrek heen nog een beetje lege ruimte overhoudt. Mijn placemat was van Action en de tekeningen waren zo’n 11cm breed en 17cm hoog.

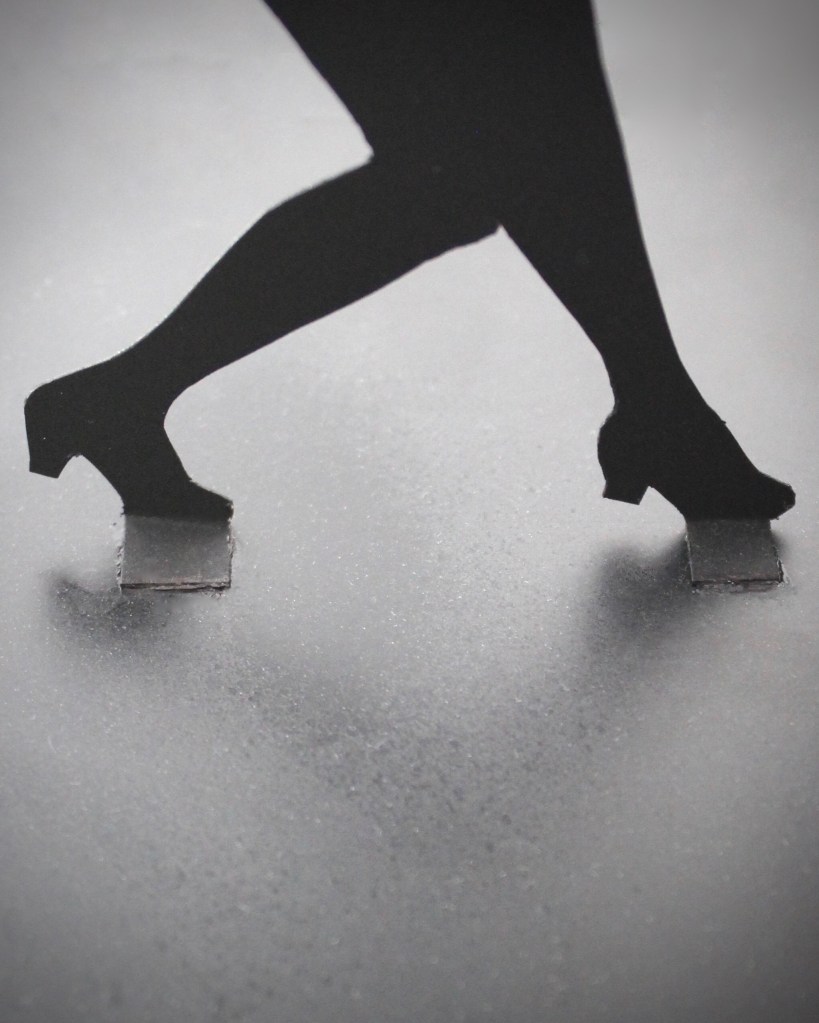
Mijn silhouetten zijn gebaseerd op een tekening die ik ooit van m’n vriend en mij heb gemaakt. We doen hier een ‘swing out’, de bekendste swing-dance move in de dansstijl Lindy Hop.
Terug naar de DIY…
- Bepaal voor je de silhouetten uitknipt eerst op welke plekken je ze uiteindelijk wil gaan bevestigen aan de boekensteunen. Houd hier een extra randje over van minimaal 1cm bij 1 cm, want daar komt straks de lijm op te zitten. Kies voor het beste resultaat zowel iets aan de onder- als de zijkant. Bij mij vond ik het voor beide silhouetten vanzelfsprekend de voeten en een hand te kiezen.
- Knip de tekeningen uit de placemat en vouw de extra randjes voorzichtig om naar achteren, maar zorg dat het niet breekt.
- Leg de uitgeknipte silhouetten op wat oude kranten en spuit ze zwart, volg hiervoor de gebruiksaanwijzing op de spuitbus. Doe zowel de voor- als achterkant en laat het tussendoor goed drogen. Mijn spuitbus was van Action.
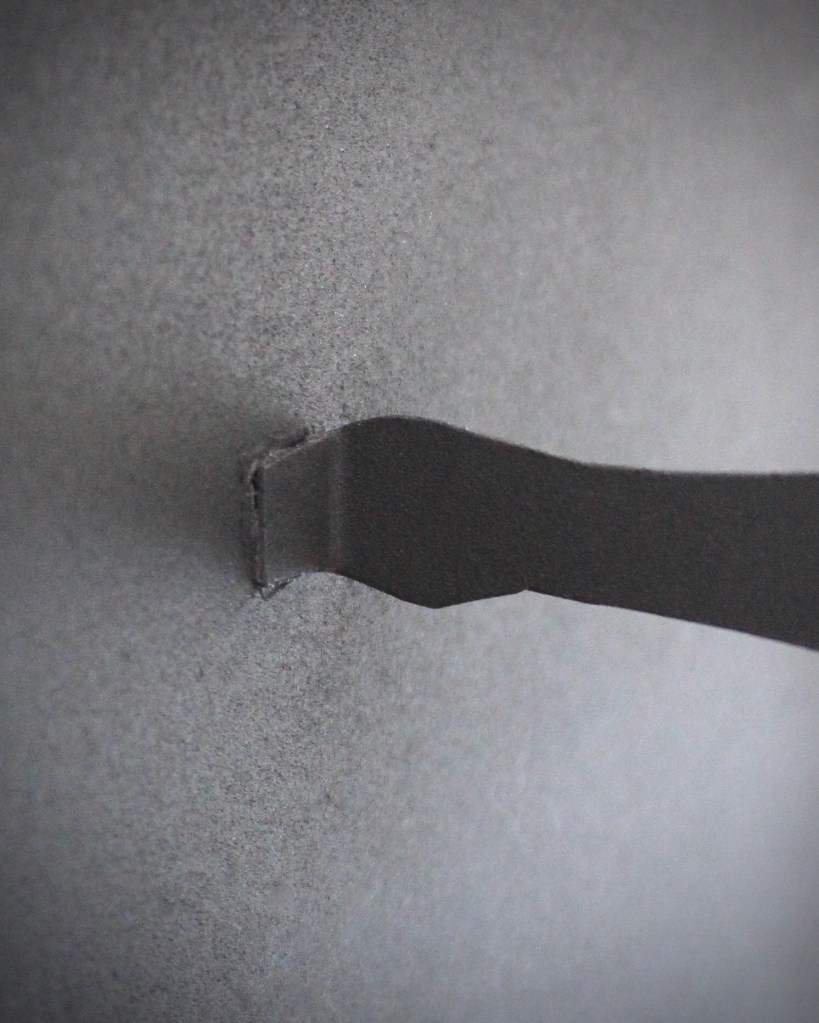
- Plak als laatste de silhouetten vast aan de boekensteunen, gebruik hiervoor de extra randjes met een beetje lijm erop. Mijn boekensteunen zijn in bijna alle kantoorartikelen winkels te koop en 12cm bij 12cm bij 16cm. Ik had de silhouetten allebei precies in het midden geplakt, dus op 6cm diep, maar iets meer op de voor- of achtergrond kan natuurlijk ook.
- Duw alles nog even stevig aan tot het vast zit, draai ze om en… Je bent klaar!

Alles bij elkaar heeft dit persoonlijke aandenken me slechts een tientje gekost. Das geen geld toch!? En onze Harry Potter collectie staat er zo ook een stuk leuker bij!

Ik hoop dat jullie het leuk vonden om te zien hoe je deze DIY kunt maken!
Wat vind jij van gepersonaliseerde boekensteunen? En welke silhouetten zou je zelf kiezen?
Reageer onder deze post of ga naar contact en stuur me een mailtje.
Deel jouw foto’s van de DIY met de hashtag #irenitalaverde en tag @irenitalaverde. Ik ben benieuwd naar het eindresultaat!!!
“Maak van elke dag een sprookje!” – Irene
What do you need?
- Black metal bookends
- Plastic (flexible, but not flimsy) children’s place mat
- Pencil
- Scissors
- Black matte spray paint
- Old newspapers
- Glue
What do you have to do?
- Make two separate drawings on the place mat with a clear silhouette of yourself, your partner, a pet or, for example, something that you are a fan of. Of course you can also print, cut out and outline pictures from the internet if you are not much into drawing. Make sure to leave some empty space around the drawing or outline. My place mat was from Action and the drawings were about 11cm wide and 17cm high.
My silhouettes are based on a drawing I once made of my boyfriend and me. Here we do a ‘swing out’, a well known swing-dance move in the style Lindy Hop.
Back to the DIY…
- Before you cut out the silhouettes, first determine where you want to eventually attach them to the bookends. Leave an extra edge of at least 1cm by 1cm, because this is where the glue will be put on later. For the best result, choose something on both the bottom and the side. For me it felt natural to choose the feet and one hand for each silhouette.
- Cut the drawings out of the place mat and carefully fold the extra edges back, but make sure that it does not break.
- Place the cut-out silhouettes on some old newspapers and spray them black, following the instructions on the spray can. Do both the front and back and let it dry thoroughly in between. My spray can was from Action.
- Finally, attach the silhouettes to the bookends, using the extra edges to put a bit of glue on. My bookends are for sale in almost every office supply store and 12cm by 12cm by 16cm. I placed both silhouettes exactly in the middle, so at 6cm deep, but of course you can also use a little more in the foreground or background.
- Push everything firmly until it is dry, turn them around and… You’re done!
All in all, this personal keepsake cost me only ten euros. That’s nothing, right!? And our Harry Potter collection also looks a lot nicer!
I hope you enjoyed reading how to make this DIY!
What do you think of personalized bookends? And what kind of silhouettes would you choose?
Comment below this post or go to contact and send me an email.
Share your photos from the DIY with the hashtag #irenitalaverde and tag @irenitalaverde. I am curious about the end result!!!
“Turn every day into a fairytale!” – Irene